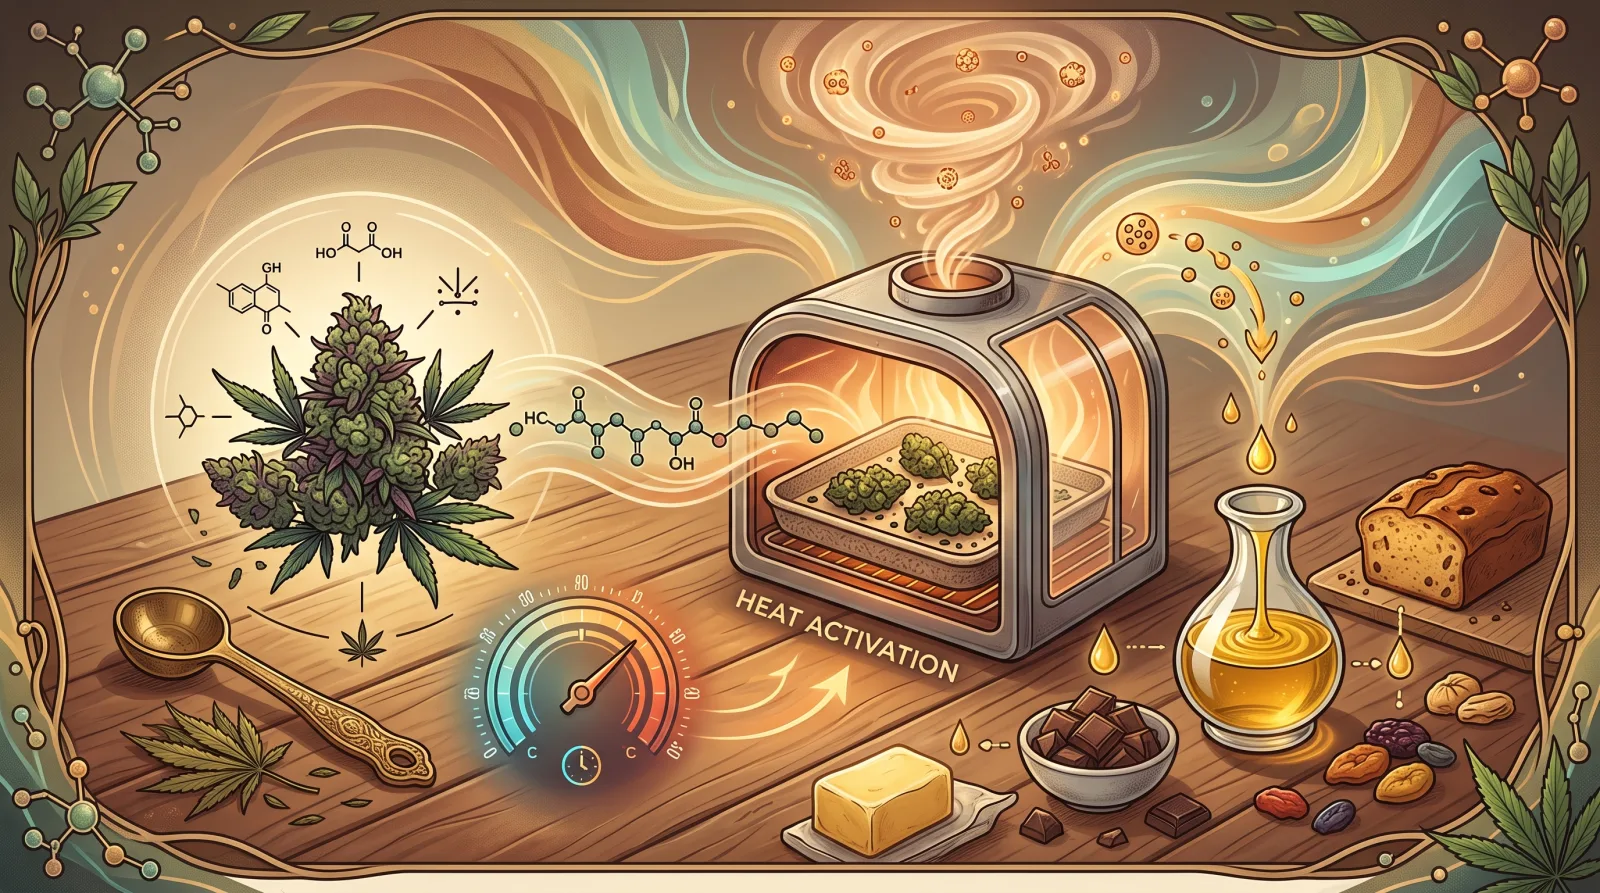
You've picked up premium flower, carefully measured your dose, and ground it into a fine powder for your first batch of homemade brownies. You follow the recipe exactly, bake them perfectly, and then... nothing. No effect. No high. Just expensive, slightly grassy-tasting chocolate squares that do absolutely nothing. If this sounds familiar, you've discovered the hard way why decarboxylation isn't optional, it's the entire foundation of cannabis edibles. Without this crucial heat-activation step, you're essentially eating raw plant material that your body can't process for psychoactive effects.
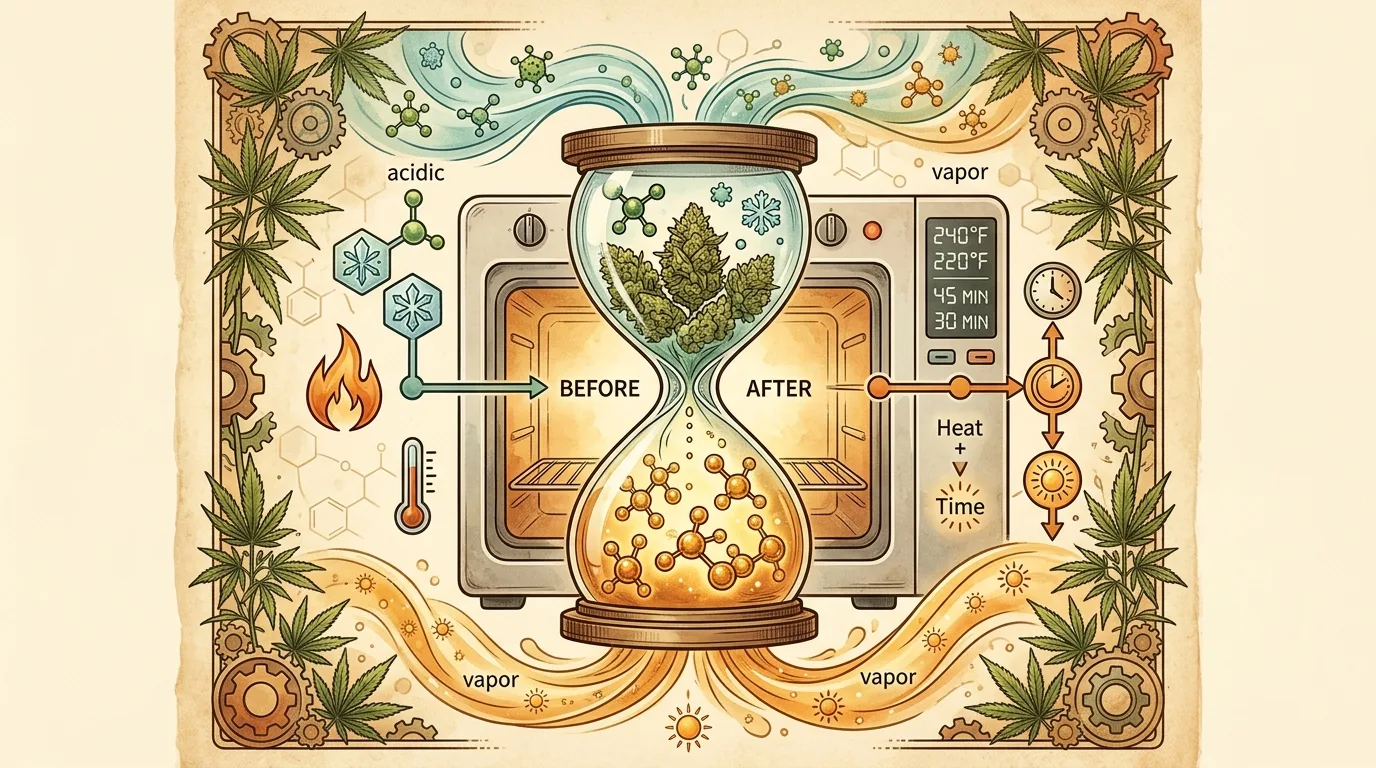
Decarboxylation is the chemical process that converts inactive cannabinoid acids (THCA and CBDA) into their active forms (THC and CBD) through controlled heat exposure. When you smoke or vape cannabis, this happens instantly as the flame or heating element reaches the flower. But when you're making edibles, you need to replicate that activation deliberately before adding cannabis to your recipe. Understanding the science behind decarboxylation, the proper temperatures, timing variations, and common mistakes transforms home cannabis cooking from frustrating experimentation into predictable, potent results every single time.
Why Raw Cannabis Doesn't Get You High: The THCA vs THC Chemistry
Fresh cannabis flower contains almost no actual THC. Instead, it's packed with THCA (tetrahydrocannabinolic acid), a non-intoxicating precursor molecule that does virtually nothing when eaten. The difference between these two compounds is a single carboxyl group, a cluster of carbon, hydrogen, and oxygen atoms attached to the THCA molecule. This extra molecular baggage prevents THCA from binding effectively to the CB1 receptors in your brain and body that produce the characteristic cannabis high.
When you apply heat to cannabis, that carboxyl group breaks away in a chemical reaction called decarboxylation (litreally "removing the carboxyl group"). What's left behind is THC, the compound with the correct molecular shape to fit snugly into your endocannabinoid system's receptors. This same process applies to CBD: raw flower contains CBDA, which must be converted to active CBD through the same heat-driven reaction. The plant produces these acidic forms naturally, they're not inferior or defective versions, they're simply the stable form that exists before heat exposure.
This is why smoking works instantly. The combustion temperature of a lighter (around 600°C) immediately decarboxylates the cannabinoids as you inhale. Vapourizers operate at lower temperatures (typically 180-220°C) but still hot enough to trigger the conversion in real-time. When you're making edibles, however, most recipes never reach temperatures high enough to activate the cannabinoids during the cooking process itself. A batch of brownies baking at 175°C might seem hot, but the cannabis mixed into the batter doesn't stay at that temperature long enough for complete decarboxylation, especially when it's mixed with cool, moisture-rich ingredients that moderate the actual temperature the flower experiences.
The Decarboxylation Curve: Time and Temperature Relationships
Decarboxylation isn't an on/off switch, it's a gradual conversion that happens faster at higher temperatures and slower at lower ones. At 100°C, the process takes hours. At 150°C, it happens in about 30-40 minutes. At 200°C, conversion is much faster but you risk degrading the THC into CBN (cannabinol), a sedative cannabinoid that changes the effect profile. The goal is finding the sweet spot where decarboxylation completes efficiently without destroying your target compounds through excessive heat exposure.
Research published in the Journal of Chromatography shows that THCA converts to THC most efficiently at 110-120°C for 30-45 minutes, with minimal degradation of the final product. This temperature range allows complete conversion while preserving terpenes (the aromatic compounds that influence flavour and effects) better than higher-heat methods. However, many home bakers use slightly higher temperatures (120-130°C) for shorter times (25-30 minutes) to account for oven temperature inconsistencies and achieve reliable results without precision equipment.
The Standard Oven Decarboxylation Method: Step-by-Step
The kitchen oven remains the most accessible decarboxylation tool for home cannabis cooks. It's not the most precise instrument, most ovens fluctuate by 10-15 degrees around the set temperature, but with proper technique it delivers consistent, reliable activation. The process is straightforward, but small details make the difference between partial conversion and complete activation.
Start by preheating your oven to 115°C (240°F). While it heats, break your cannabis into small, popcorn-sized pieces. Don't grind it yet. Larger pieces decarboxylate more evenly because surface area exposure is balanced, overly fine material can scorch on the edges while remaining under-activated in clumps. Spread the broken flower in a single, even layer on a baking sheet lined with parchment paper. The parchment prevents sticking and makes cleanup easier, but more importantly it moderates direct heat transfer from the metal pan.
Place the baking sheet in the centre rack of your preheated oven. Set a timer for 30 minutes, but check at the 20-minute mark. Properly decarboxylated cannabis shifts from bright green to a toasted, golden-brown colour, similar to dried herbs. It becomes noticeably drier and slightly crumbly to the touch. If your flower still looks vibrantly green at 30 minutes, give it another 5-10 minutes. If it's already browning significantly at 20 minutes, your oven runs hot and you should reduce either temperature or time for future batches.
The Smell Factor: Managing Odour During Decarboxylation
Decarboxylation releases terpenes into the air, creating a strong cannabis aroma that can fill your entire living space and linger for hours. If discretion matters, you have options. Oven bags designed for roasting turkey create a sealed environment that contains most of the smell during the process. Place your cannabis on parchment inside the bag, seal it according to package directions, and proceed with the same temperature and time. The bag method also creates a more consistent temperature environment around the flower.
Another approach involves using a sealed glass jar partially submerged in a water bath. Place your broken flower in a mason jar, seal the lid tightly, and set it in a pot of water on the stovetop. Heat the water to a gentle simmer (just below boiling, around 95°C) and maintain it for 90 minutes. This method takes longer because water's boiling point limits maximum temperature, but it virtually eliminates smell and prevents any possibility of scorching. The trade-off is time and slightly less efficient conversion compared to direct oven heat.
Temperature and Time Variations: Adjusting for Your Goals
The standard 115°C for 30 minutes guideline works for most applications, but different temperatures and times produce subtly different results. Understanding these variations helps you optimize decarboxylation for specific products or desired effects. Lower-temperature methods preserve more terpenes, resulting in edibles with more pronounced flavour characteristics from the original strain. Higher temperatures complete the process faster but sacrifice some of those delicate aromatic compounds.
For maximum terpene preservation, try 105°C for 45-50 minutes. This extended, gentle approach converts THCA to THC while keeping more of the volatile terpene molecules intact. The result is noticeable in infused oils and butters, where the cannabis flavour and aroma remain more complex and strain-specific. This method works particularly well when you're using premium flower with distinct terpene profiles that you want to highlight in the final edible. Understanding terpenes and their role in cannabis effects can help you appreciate why preserving these compounds matters beyond just flavour.
For faster results when time matters, 130°C for 20-25 minutes gets the job done with slightly more terpene loss but complete THCA conversion. This higher-heat approach is practical when you're working with larger quantities or using budget flower where preserving subtle flavour notes is less critical. The trade-off is acceptable for most applications, especially when the cannabis will be mixed with strongly flavoured ingredients like chocolate, coffee, or spices that mask the more delicate herbal notes anyway.
Hash and Concentrate Decarboxylation: Different Rules Apply
Hash, kief, and other concentrates decarboxylate faster than flower because they contain less plant material and moisture. The same 115°C temperature works, but reduce the time to 15-20 minutes for hash and 10-15 minutes for kief or dry sift. Concentrates like shatter, budder, or wax may be partially or fully decarboxylated already, depending on how they were processed. If you're unsure, a short 10-minute session at 115°C ensures complete activation without degradation.
Some concentrate products explicitly list decarboxylation status on their packaging. Distillates and RSO (Rick Simpson Oil) are typically already activated and can be added directly to recipes without additional heating. When working with these products, you're trading the decarboxylation step for higher cost per milligram of THC, but gaining convenience and consistency. For bulk infusion projects, starting with flower and handling decarboxylation yourself remains the most economical approach.
Common Decarboxylation Mistakes That Waste Cannabis
The most frequent error is simply skipping decarboxylation entirely. New cannabis cooks often assume that baking or simmering during the infusion process will handle activation. While some conversion happens during cooking, it's incomplete and unpredictable. A batch of cookies that bakes for 12 minutes at 175°C doesn't give the cannabis enough time at temperature for full decarboxylation, leaving significant amounts of inactive THCA in the final product. The result is edibles that are half as strong as they should be, or inconsistent potency between pieces depending on how long each part of the batch spent in the hottest part of the oven.
Over-decarboxylation is equally wasteful. Cannabis that turns dark brown or begins to smell burnt has been heated too long or too hot, degrading THC into CBN and destroying terpenes. While CBN has its own effects (primarily sedation), it's not what most people are aiming for in recreational edibles. If you're intentionally creating a sleep-focused product, controlled CBN conversion makes sense, but for most applications it represents wasted potential. Visual cues matter: aim for light to medium tan, like the colour of graham crackers. If it looks like burnt toast, you've gone too far.
Temperature assumption is another common problem. Never trust your oven's dial or digital display without verification. Spend $15 on an oven thermometer and place it on the rack where you'll decarboxylate. Let the oven preheat completely, then check the actual temperature. Many ovens run 10-20 degrees hotter or cooler than their settings indicate, and this variance matters significantly when you're working within a fairly narrow optimal temperature range. Once you know your oven's true temperature behavior, you can adjust your dial accordingly for accurate results.
The Grinding Timing Debate
Some guides recommend grinding cannabis before decarboxylation for more surface area exposure. Others insist on keeping flower in larger pieces and grinding afterward. Both approaches work, but grinding after decarboxylation offers two practical advantages. First, properly decarboxylated cannabis becomes noticeably drier and more brittle, making it easier to achieve a fine, consistent grind. Second, larger pieces during decarboxylation mean less surface area for terpenes to escape and less risk of uneven heating where fine particles on the edges scorch while material in the centre remains under-activated.
If you're making cannabutter or cannabis oil where you'll strain out the plant material anyway, the grind timing makes minimal difference. But for recipes where small amounts of finely ground cannabis get incorporated directly (like some chocolate truffle recipes or certain beverage applications), grinding after decarboxylation produces a more consistent texture and avoids the slightly grassy taste that under-activated flower can contribute.
After Decarboxylation: Infusion and Storage
Once your cannabis is properly decarboxylated, it's ready for infusion into fats (butter, coconut oil) or alcohol (tinctures). The activated cannabinoids are now bio-available and will bind efficiently to lipids or dissolve in high-proof spirits. The complete cannabutter infusion process becomes significantly more reliable when you start with thoroughly decarboxylated material, as the infusion step focuses solely on extracting and suspending the active compounds rather than trying to activate and extract simultaneously.
If you're not ready to infuse immediately, store decarboxylated cannabis in an airtight container in a cool, dark place. Properly stored, it remains stable for several months, though potency gradually decreases over time as THC slowly degrades even without additional heat exposure. Glass mason jars with tight seals work well, keeping out moisture and light while preventing the distinctive smell from escaping. This storage option is particularly useful if you're preparing decarboxylated material in batches to have it ready for spontaneous infusion projects.
For those who want to skip the decarboxylation and infusion process entirely, ready-made options exist. Products like distillate syringes or THC syrup contain fully activated cannabinoids that can be added directly to recipes, but you'll pay a premium for that convenience. The knowledge of how to properly decarboxylate and infuse your own cannabis gives you control over potency, cost-effectiveness, and the ability to create exactly the edibles you want.
Calculating Potency After Decarboxylation
Understanding approximately how much THC survived the decarboxylation process helps with accurate edible dosing. Start with the THC percentage listed for your flower (or test results if available). If you're working with 20% THC flower, that means 200mg of THC per gram of flower before decarboxylation. Proper decarboxylation converts roughly 70-90% of available THCA to THC, depending on your technique precision. For conservative estimates, assume 75% conversion efficiency.
So 1 gram of 20% THC flower yields approximately 150mg of activated THC after decarboxylation (200mg × 0.75 = 150mg). When you infuse that into butter or oil, you'll lose another 10-20% depending on your extraction efficiency and whether you squeeze the plant material or let it drain passively. These calculations are estimates, home decarboxylation and infusion lack the precision of commercial lab processing, but they provide a reasonable starting point for dosing. When trying a new batch, start with a small test dose and wait 90-120 minutes before consuming more. Understanding what to do if edibles hit too hard is important safety knowledge for anyone making their own infused products.
Alternative Decarboxylation Methods Beyond the Oven
While the standard oven method works reliably, other approaches offer specific advantages. Sous vide decarboxylation has gained popularity among precision-focused cannabis cooks. Seal your cannabis in a vacuum bag or ziplock-style bag with air pressed out, then submerge it in a water bath set to 95°C for 90 minutes using a sous vide immersion circulator. This method provides extremely consistent temperature control, complete odour containment, and zero risk of scorching. The downside is time (90 minutes versus 30) and the need for specialized equipment.
The Instant Pot or pressure cooker method appeals to those who want a single-device solution for both decarboxylation and infusion. Place cannabis in a sealed mason jar (leaving headspace), set the jar on the trivet inside the Instant Pot with an inch of water in the bottom, and run at high pressure for 40 minutes with natural release. This accomplishes decarboxylation in a sealed, smell-proof environment. You can then add oil or butter to the same jar and run another pressure cycle for infusion, completing the entire process in one device without transferring material.
Purpose-built decarboxylation machines like the Ardent Nova or Levo II automate the process completely. These devices monitor and regulate temperature precisely while containing all odours. They're expensive (typically $200-400) but deliver perfect decarboxylation every time without any guesswork or monitoring. For regular edibles makers who prioritize consistency and convenience over cost, these tools eliminate variables and the learning curve entirely. For occasional home cooks, the standard oven method provides perfectly adequate results without the specialized equipment investment.
Decarboxylation for Different Cannabinoids
While THC gets most of the attention, decarboxylation activates other cannabinoids as well. CBDA converts to CBD through the same heat process, making decarboxylation necessary for non-intoxicating therapeutic edibles. The good news is that CBD and CBDA decarboxylate at similar temperatures and times as THC and THCA, so the standard 115°C for 30 minutes works for both. Understanding CBD to THC ratios helps you select appropriate starting material when you're creating edibles with specific effect profiles.
Other minor cannabinoids like CBG (cannabigerol) and CBC (cannabichromene) also exist in acidic forms that require decarboxylation, though they're present in much smaller quantities in most cannabis strains. The same heat process that activates THC and CBD also converts these compounds, so you don't need to adjust your technique when working with high-CBG or CBC strains. The important takeaway is that decarboxylation is universal for all acidic cannabinoids, making it the essential first step regardless of which compounds you're trying to harness.
Testing Decarboxylation Completion Without a Lab
Professional cannabis producers send samples to labs for precise cannabinoid testing before and after decarboxylation, but home cooks need practical visual and sensory cues. The primary indicator is colour change. Raw cannabis flower ranges from bright lime green to deep forest green depending on the strain. Properly decarboxylated material shifts to tan, golden, or light brown tones. The greener it still looks, the less complete the conversion. Think of it like toasting bread: you want light to medium brown, not white (under-done) or charcoal (burnt).
Texture provides another clue. Decarboxylated cannabis becomes noticeably drier and more brittle than fresh or cured flower. You should be able to crumble it easily between your fingers. If it still feels sticky or damp, it hasn't been heated sufficiently. The moisture content of your starting material matters, very fresh or improperly cured flower contains more water that must evaporate before temperature rises enough for decarboxylation, potentially requiring a few extra minutes beyond the standard timing.
Smell changes dramatically during and after decarboxylation. Raw flower has a fresh, pungent herbal aroma. During heating, the smell intensifies as terpenes volatilize. Properly finished material smells toasted, similar to dried herbs or tea. If it smells burnt or acrid, you've overheated. If it still smells very fresh and green, it needs more time. While these sensory cues aren't as precise as lab testing, they provide reliable real-time feedback for adjusting technique with each batch.
Ready to Stock Your Infusion Projects?
Whether you're making cannabutter, tinctures, or baked edibles, we carry the premium flower and concentrates that deliver consistent results after decarboxylation.
Browse Infusion-Grade CannabisFrequently Asked Questions About Decarboxylation
Microwaves are not recommended for decarboxylation. They heat unevenly, creating hot spots that can scorch some material while leaving other portions under-activated. The electromagnetic heating doesn't provide the consistent, controlled temperature exposure needed for reliable THCA to THC conversion. Stick with oven, water bath, or pressure cooker methods for predictable results.
Decarboxylation releases a strong, persistent cannabis odour that differs from smoke. It's less immediately pungent than combustion but fills your space more thoroughly and lingers longer. The smell is concentrated cooked cannabis rather than burnt plant matter. If odour discretion is important, use the sealed mason jar water bath method or invest in a purpose-built odour-proof decarboxylation device.
Properly stored decarboxylated cannabis in an airtight, opaque container in a cool location maintains most of its potency for 3-6 months. THC slowly degrades over time even without additional heat, converting gradually to CBN. For maximum potency retention, store in the refrigerator or freezer in a sealed glass jar. Decarboxylate in batches you'll use within a few months rather than processing large quantities at once.
You can apply additional heat if you suspect incomplete decarboxylation, but there's risk. If the material was already properly activated, more heat will degrade THC into CBN rather than converting additional THCA. Check the colour first. If it's still quite green, another 10-15 minutes at 115°C is safe. If it's already tan or brown, additional heating will likely reduce potency rather than improve it. Make test edibles to check activation before adding more heat.
Altitude has minimal effect on oven decarboxylation since you're heating in air, not relying on water's boiling point. The chemical conversion of THCA to THC occurs at the same temperature regardless of elevation. However, if you're using water bath methods, higher altitudes where water boils at lower temperatures will require longer times to achieve complete decarboxylation since your maximum temperature is lower. Oven methods work consistently at any altitude.
Some older or less precise recipes assume that baking temperature will decarboxylate cannabis mixed into the batter. While partial conversion occurs, it's incomplete and inconsistent. The cannabis doesn't spend enough time at optimal temperature, especially when mixed with cool, moist ingredients that moderate heat transfer. Pre-decarboxylation ensures complete, reliable activation before you add cannabis to your recipe, producing consistently potent edibles rather than hit-or-miss results.
Conclusion: Mastering the Foundation of Cannabis Cooking
Decarboxylation transforms cannabis from inactive plant material into the foundation for effective edibles, tinctures, and topicals. The process is straightforward, break your flower into small pieces, heat it at 115°C for 30 minutes in your oven, and watch for the colour shift from green to golden-tan.