Making cannabutter at home has become one of the most practical skills for Canadian cannabis consumers who want control over their edibles. Since legalization, thousands of people have discovered that home infusion isn't complicated kitchen wizardry,it's straightforward cooking that lets you stretch your cannabis budget further while creating precisely dosed treats. The best part? You don't need expensive AAAA flower to make excellent cannabutter. Value options like popcorn buds and AAA strains infuse just as effectively, giving you potent results at a fraction of the cost.
This comprehensive guide walks you through the entire cannabutter process, from selecting the right flower for infusion to calculating exact potency so your homemade edibles never become a guessing game. Whether you're making your first batch or refining your technique, you'll learn the science behind activation, the methods that actually work, and the math that keeps your doses consistent.
Why Cannabis Grade Doesn't Matter for Infusion (And What Does)
Here's a truth that surprises many first-time cannabutter makers: the visual appeal and bag appeal that justify premium flower prices become irrelevant once you're infusing into butter. A perfectly manicured AAAA bud and a popcorn nug from the same strain contain the same cannabinoids per gram. When you decarboxylate and infuse cannabis, you're extracting THC, CBD, and terpenes,chemical compounds that exist in the trichomes regardless of bud size or appearance.
What actually matters for infusion is cannabinoid content (THC percentage), freshness (old, degraded flower loses potency), and proper decarboxylation. A 20% THC popcorn bud makes identical cannabutter to a 20% THC premium nug when infused correctly. The difference is price: value flower typically costs $3-5 per gram versus $8-12 for top-shelf options. When you're making a batch that uses 7-14 grams, those savings add up significantly.
The Best Flower Types for Cannabutter
Look for these characteristics when shopping specifically for infusion:
Popcorn buds are the budget champion for cannabutter. These smaller nugs from the lower branches of the plant contain the same cannabinoid profile as larger colas but sell at steep discounts because they lack visual appeal. They grind easily, measure accurately, and infuse completely. Most dispensaries and delivery services price popcorn buds 30-40% below their premium counterparts.
Shake can work for infusion if it's fresh and comes from quality flower, but it's less predictable. Good shake consists of sugar leaves and small pieces that broke off premium buds. However, some shake includes stems, fan leaves, and degraded material with lower cannabinoid content. If you're buying shake for cannabutter, verify it's from a recent trim and doesn't contain excessive stem material.
Trim is generally not recommended for cannabutter unless you're willing to use significantly more material to achieve the same potency. Trim contains far fewer trichomes than flower, resulting in weaker infusions that require larger quantities to reach desired strength.
Strain Selection Considerations
Any strain works for cannabutter,the choice comes down to desired effects and terpene preferences. Indica-dominant strains create sedating edibles perfect for evening use, while sativa varieties produce more energizing effects. Hybrid strains offer balanced experiences. Remember that terpenes partially survive the infusion process, contributing subtle flavour notes and modifying effects through the entourage effect.
For first-time infusers, choose strains you've already consumed and enjoyed. This familiarity helps you understand how the effects translate into edible form. Most experienced home bakers keep 2-3 different infusions on hand: a relaxing indica cannabutter for brownies and bedtime treats, a balanced hybrid for general use, and occasionally a sativa infusion for daytime recipes.
Decarboxylation: The Essential Science That Activates Your Cannabis
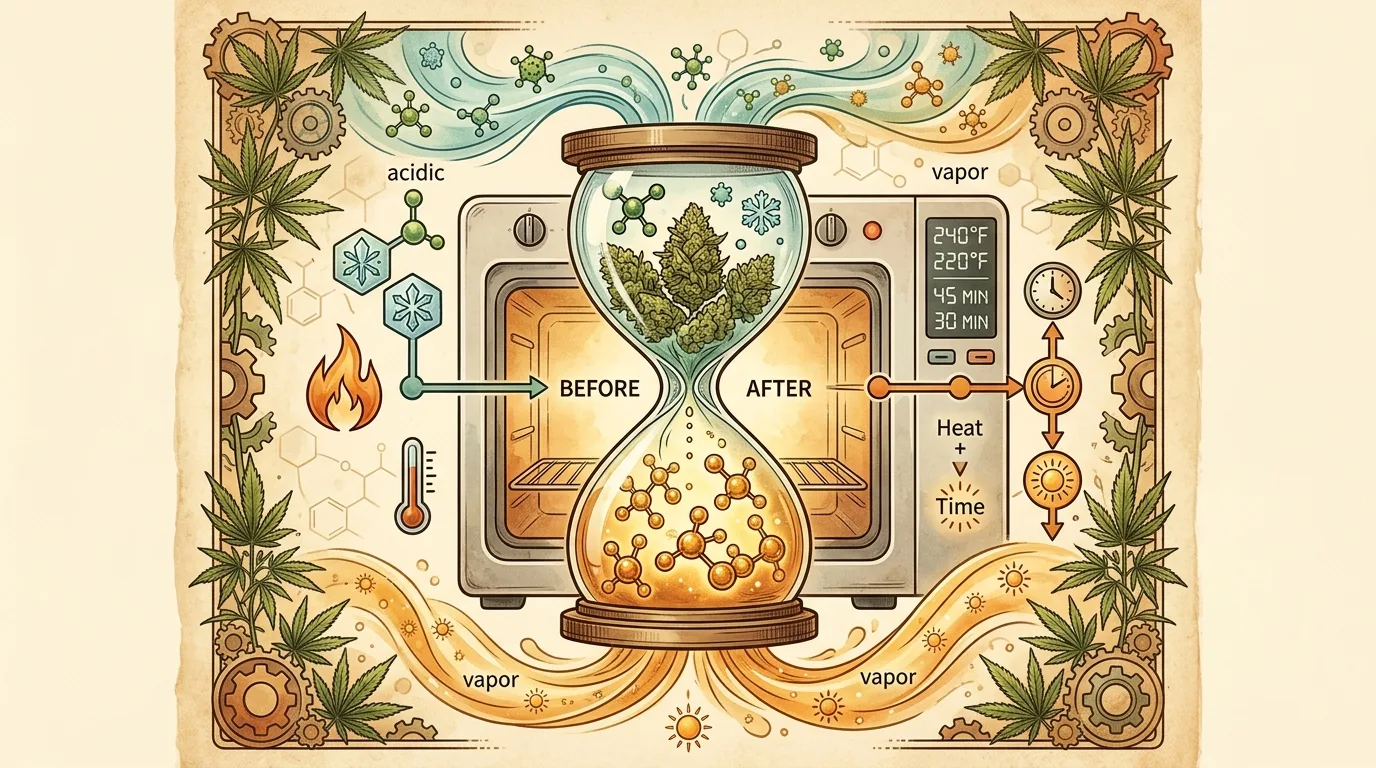
Raw cannabis flower contains THCA and CBDA,acidic precursor compounds that aren't psychoactive. When you smoke or vapourize cannabis, heat instantly converts these acids into active THC and CBD. But when making cannabutter, you must perform this conversion deliberately through a process called decarboxylation before infusion begins.
Understanding decarboxylation transforms your cannabutter from unpredictable to precisely potent. Skip this step or execute it poorly, and you'll waste cannabis on weak butter. Master it, and you unlock consistent, predictable homemade edibles every time.
The Decarboxylation Process Explained
Decarboxylation removes a carboxyl group (COOH) from THCA molecules, converting them to THC through heat application over time. This reaction occurs at different rates depending on temperature. Too low, and conversion happens too slowly or incompletely. Too high, and you begin degrading THC into CBN, which produces sedating effects but isn't what most people want from their cannabutter.
The optimal decarboxylation zone sits around 240°F (115°C) for 40 minutes. At this temperature, you achieve roughly 70-80% conversion of THCA to THC,the practical maximum for home methods. Higher temperatures work faster but increase cannabinoid loss. Lower temperatures preserve more terpenes but require longer times and may not complete conversion.
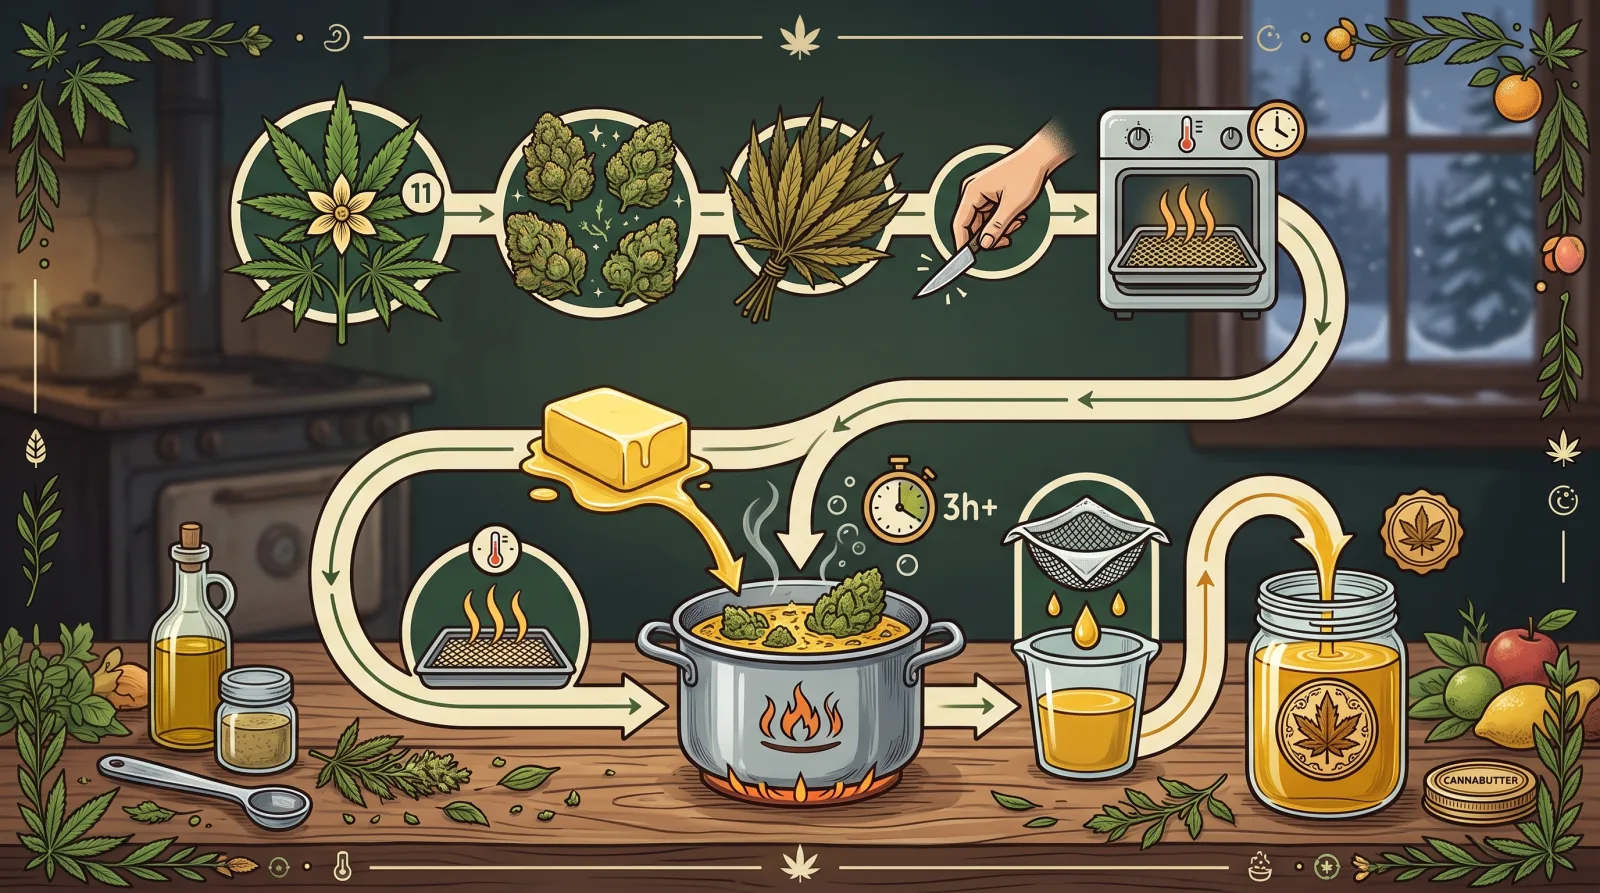
Step-by-Step Decarboxylation Method
Preheat your oven to 240°F (115°C). Use an oven thermometer if possible,many home ovens run 10-25 degrees off their display temperature. This accuracy matters when you're working within a specific conversion zone.
Break your flower into small pieces. You don't need to grind it finely,in fact, coarser pieces work better because they won't slip through cheesecloth during later straining. Break buds into rice-sized pieces by hand or with a grinder on coarse setting.
Spread cannabis evenly on a baking sheet. Line the sheet with parchment paper and distribute your flower in a single layer. Overcrowding creates uneven heating and incomplete decarboxylation. If making a large batch, use two sheets rather than piling material high on one.
Bake for 40 minutes. Place the sheet in your preheated oven and set a timer. Your kitchen will smell strongly of cannabis during this process,the terpenes you're smelling are evaporating, which is why decarbed flower tastes less vibrant than raw buds. This is normal and expected.
Cool completely before infusing. Hot, freshly decarbed cannabis continues reacting if you immediately add it to hot butter. Let it cool to room temperature for 10-15 minutes. The colour shifts from bright green to a darker, brownish-green,this visual change confirms successful decarboxylation.
For readers interested in the science behind activation, our detailed guide on decarboxylation and edible activation explores the chemistry and timing variations for different cannabinoids.
The Classic Stovetop Cannabutter Method
The stovetop method remains the most popular approach for home cannabutter because it requires only basic kitchen equipment and allows active monitoring throughout the process. This technique infuses cannabinoids into butter fat using low, gentle heat over several hours. The extended time allows maximum extraction while the low temperature prevents degradation of your carefully decarboxylated THC.
Ingredients and Equipment
For a standard batch of cannabutter, gather:
7 grams of decarboxylated cannabis (produces moderate-strength butter, approximately 10mg THC per tablespoon if using 20% THC flower)
1 cup (2 sticks) of unsalted butter (the fat content of butter provides the best cannabinoid absorption; salted butter works but can make dosing math more difficult since salt adds weight)
2-4 cups of water (creates a buffer that prevents butter from scorching and helps regulate temperature)
A medium saucepan with a heavy bottom that distributes heat evenly
Cheesecloth or fine mesh strainer for separating plant material from finished butter
A storage container that fits in your refrigerator
Kitchen thermometer (optional but helpful for monitoring temperature)
Step-by-Step Infusion Process
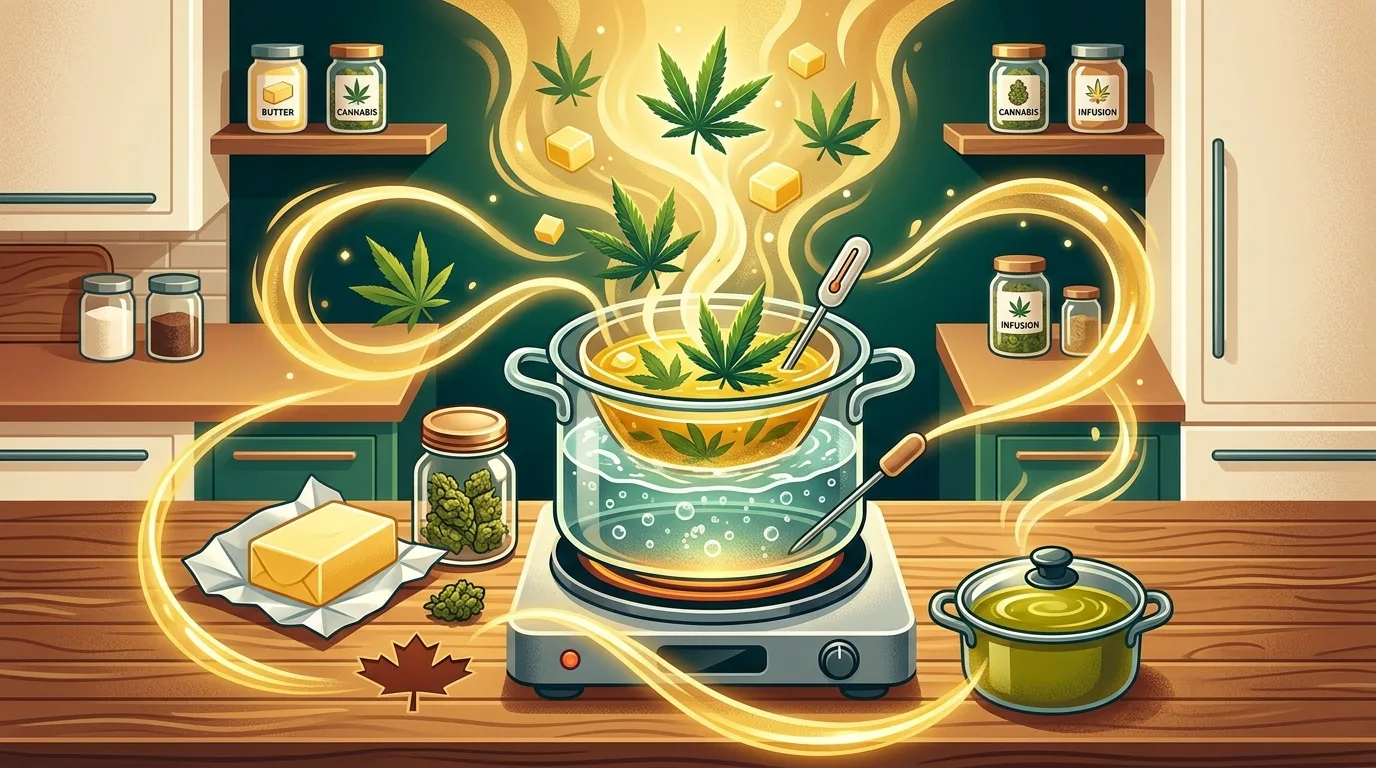
Combine butter, water, and decarbed cannabis in your saucepan. Add the water first, then butter, then cannabis. The water creates a heat buffer that keeps butter from burning and allows you to maintain the ideal 160-180°F temperature range. More water is better than less,you'll separate it later, and it provides insurance against scorching.
Heat on low until butter melts completely. Don't rush this stage. Once melted, small bubbles should barely break the surface. If you see vigourous bubbling or the mixture starts to boil, reduce heat immediately. You want a gentle simmer at most,ideally just steaming with occasional tiny bubbles.
Maintain low heat for 2-3 hours. This is the infusion window where THC transfers from plant material into butter fat. Stir every 20-30 minutes to prevent sticking and ensure even extraction. The mixture should never boil. Temperature between 160-180°F extracts effectively while preserving potency. Some makers prefer 4-hour infusions for maximum extraction, but research suggests most cannabinoids transfer in the first 2 hours, with diminishing returns after 3 hours.
Strain while still warm. Set up your straining system before the mixture cools and butter begins solidifying. Place cheesecloth over a heat-safe bowl or container and secure it with rubber bands or kitchen twine. Pour the entire mixture through the cheesecloth. Let gravity do most of the work,aggressive squeezing pushes plant particulates through the filter, creating darker, chlorophyll-heavy butter with an unpleasant grassy taste.
Refrigerate overnight. As the mixture cools, butter fat solidifies on top while water remains liquid below. This separation is why water matters,it absorbs water-soluble plant compounds you don't want in your cannabutter, including chlorophyll and plant sugars that create harsh flavours. After 8-12 hours in the refrigerator, you'll have a solid disc of green-tinged golden butter floating on dark water.
Remove and dry the butter disc. Lift the solid butter from the container. The underside may have dark residue,gently scrape this off with a butter knife. Pat the butter dry with paper towels. Store in an airtight container in the refrigerator for up to 2 weeks, or freeze for up to 6 months.
Troubleshooting Common Stovetop Issues
If your butter turns very dark green or black, the temperature ran too high or you squeezed too much plant matter through the cheesecloth. Dark butter still contains THC but tastes harsh and may cause digestive discomfort. Next batch, monitor temperature more closely and strain more gently.
If your butter seems weak, the most likely causes are incomplete decarboxylation, insufficient infusion time, or starting with lower-potency flower than expected. The math section below helps you calculate actual THC content and adjust recipes accordingly.
If your butter separates or looks grainy after solidifying, the water-to-butter ratio was off or temperature fluctuated too much. Grainy butter is safe to use but has less appealing texture. For smoother results, maintain steadier heat and use more water during infusion.
The Slow Cooker Alternative Method
Slow cookers (Crockpots) offer a set-and-monitor approach that many home bakers prefer once they've mastered basic technique. The consistent low heat eliminates temperature babysitting, and the contained environment reduces kitchen odour compared to stovetop methods. This approach works especially well for larger batches or when you want infusion happening in the background while you handle other tasks.
Slow Cooker Cannabutter Instructions
Use the same ingredient ratios as the stovetop method: decarboxylated cannabis, butter, and water. However, slow cookers work best with slightly more water (3-4 cups per cup of butter) because they operate for longer periods and more evaporation occurs even with the lid on.
Set your slow cooker to LOW. Most slow cookers maintain 180-200°F on the low setting,perfect for cannabutter. Never use the high setting, which typically runs 280-300°F and degrades THC. If your slow cooker runs particularly hot, you can prop the lid slightly ajar to vent excess heat.
Infuse for 4-6 hours. The longer timeline compensates for the slow cooker's gentler, more consistent heat. Stir every hour if you're around, but the beauty of this method is it doesn't require constant attention. Many experienced makers start slow cooker batches in the morning and strain before dinner.
Follow the same straining and separation process as the stovetop method. The finished product is indistinguishable from stovetop cannabutter,same potency, same quality, just easier execution.
Calculating Cannabutter Potency: The Math That Matters
The difference between homemade edibles that work predictably and those that send people searching for "greening out" advice usually comes down to dosing math. Commercial edibles state exact THC content per serving. Your homemade cannabutter should be no different,with simple calculations, you can determine the approximate THC content per tablespoon or teaspoon, allowing you to dose recipes accurately.
The Basic Potency Formula
Start with your flower's THC percentage. If you used 7 grams of 20% THC cannabis, here's the math:
Total THC in your flower: 7,000 mg (7 grams) × 0.20 (20% THC) = 1,400 mg THC
Adjust for decarboxylation efficiency: Home decarboxylation typically converts 70-80% of THCA to THC. Use 75% as a realistic middle estimate: 1,400 mg × 0.75 = 1,050 mg activated THC
Account for infusion efficiency: Even with proper technique, some THC remains in discarded plant material. Home infusion typically transfers 80-90% of available THC into butter. Using 85%: 1,050 mg × 0.85 = 892.5 mg THC in your finished cannabutter
Calculate per-unit strength: One cup of butter equals 16 tablespoons. 892.5 mg ÷ 16 = approximately 55 mg THC per tablespoon
This batch produces moderately strong cannabutter. Each tablespoon contains roughly five 10mg doses,the standard single serving for experienced consumers. A typical cookie recipe using 1/2 cup (8 tablespoons) of this cannabutter and yielding 24 cookies would contain approximately 18-20mg THC per cookie.
Adjusting Strength for Your Needs
The ratio of cannabis to butter determines final strength. New consumers often benefit from weaker cannabutter that allows smaller doses. Experienced users might prefer stronger infusions that use less butter per serving. Here are common ratios:
Mild cannabutter (30-40mg THC per tablespoon): 3.5-5 grams of 20% THC flower per cup of butter. Good for beginners, microdosing, or recipes where you want more control over individual servings.
Moderate cannabutter (50-70mg THC per tablespoon): 7-10 grams of 20% THC flower per cup of butter. The versatile middle ground that works for most recipes and users.
Strong cannabutter (80-100mg+ per tablespoon): 14+ grams of 20% THC flower per cup of butter. For experienced consumers, high-dose treats, or situations where you want maximum potency with minimum butter in the recipe.
Understanding how low-dose THC affects the body helps you choose the right strength for your tolerance and goals, especially if you're new to homemade edibles.
Accounting for Different THC Percentages
The calculations above assume 20% THC flower,a common strength for modern cannabis. If you're using different potency flower, adjust accordingly. A 15% THC strain requires more grams to achieve the same strength, while a 25% THC strain needs less.
For a target of 55mg per tablespoon using different potencies:
15% THC flower: approximately 9-10 grams per cup of butter
20% THC flower: approximately 7 grams per cup of butter
25% THC flower: approximately 5.5-6 grams per cup of butter
This is where value flower shines. You can use slightly more of a 15% THC popcorn bud at $3/gram to achieve the same result as expensive 25% THC premium flower at $10/gram, saving money without sacrificing quality.
Using Your Cannabutter in Recipes
Cannabutter substitutes 1:1 for regular butter in virtually any recipe. Brownies, cookies, pasta sauce, mashed potatoes, toast,if it normally uses butter, you can make a THC-infused version. The key is understanding how infusion affects cooking and adjusting your technique to preserve potency.
Temperature Considerations When Baking
THC degrades at temperatures above 350°F (175°C), and it degrades faster the longer it's exposed to high heat. Most baked goods spend 20-40 minutes in 325-375°F ovens. During baking, the interior of brownies or cookies reaches only 180-220°F even when the oven runs hotter, which protects most THC. However, extended high-heat baking (above 375°F for more than 30 minutes) can reduce potency by 10-20%.
For maximum potency preservation, choose recipes that bake at 350°F or lower, or reduce standard recipe temperatures by 25 degrees and extend baking time slightly. No-bake recipes like fudge, truffles, and frozen treats preserve nearly 100% of your cannabutter's THC.
Ensuring Even Distribution
The nightmare scenario with homemade edibles is uneven distribution,some servings contain much more THC than others. This happens when cannabutter isn't fully incorporated into batter or when it separates during cooking. Prevent this by:
Melting cannabutter before adding to recipes. Softened but not melted butter doesn't mix as evenly. Fully melted (but not hot) cannabutter incorporates uniformly throughout batter.
Mixing thoroughly. Spend extra time ensuring complete integration. Scrape bowl sides and bottom where unmixed butter often hides.
Avoiding recipes with separation issues. Some recipes naturally separate fats,certain sauces, frosting made with too much liquid, or layered desserts. Stick to recipes where butter stays integrated throughout the final product.
Testing a small piece first. When trying a new batch, start with a conservative serving and wait 90-120 minutes before considering more. This prevents accidental overconsumption.
For those new to cannabis edibles, reviewing our comprehensive guide on edibles dosing for different tolerance levels provides context for choosing appropriate serving sizes based on your experience.
Storage, Shelf Life, and Potency Retention
Properly stored cannabutter maintains potency for weeks in the refrigerator or months in the freezer. THC and CBD are relatively stable compounds, but they degrade when exposed to heat, light, and oxygen over time. Smart storage preserves your investment and ensures consistent results batch after batch.
Refrigerator Storage
Store cannabutter in an airtight container in the refrigerator for up to two weeks. Glass containers work better than plastic because they don't absorb odours or compounds. Label your container clearly with the date and potency per tablespoon,a month from now, you won't remember which batch is which or how strong it is.
Cannabutter picks up flavours and odours from nearby foods, so keep it away from pungent items like onions or fish. If your refrigerator runs warm (above 40°F), potency degradation accelerates. Most cannabis butter maintains 90-95% of its original THC content over two weeks in proper refrigeration.
Freezer Storage for Long-Term Keeping
Freezing extends cannabutter shelf life to 6 months or longer with minimal potency loss. Divide a large batch into smaller portions,2-4 tablespoon amounts wrapped in parchment paper and stored in freezer bags work well. This lets you thaw only what you need without repeatedly freezing and thawing the entire batch.
When you're ready to use frozen cannabutter, thaw in the refrigerator overnight rather than at room temperature or in the microwave. Slow thawing preserves texture and prevents condensation from diluting the butter or creating bacterial growth opportunities.
Signs Your Cannabutter Has Gone Bad
Like regular butter, cannabutter can spoil. Discard any cannabutter that shows:
Visible mold growth (fuzzy spots, usually white or green)
Rancid smell (sour, unpleasant, distinctly different from the earthy cannabis aroma)
Significant colour change (darkening or yellowing beyond the initial green tint)
Sliminess or unusual texture (if it feels slimy rather than smooth when touched)
When in doubt, throw it out. Spoiled cannabutter won't make you seriously ill like spoiled meat, but it tastes terrible and may cause digestive upset. Most batches used within their recommended timeframes never develop these issues.